
How to Care for an Amaryllis
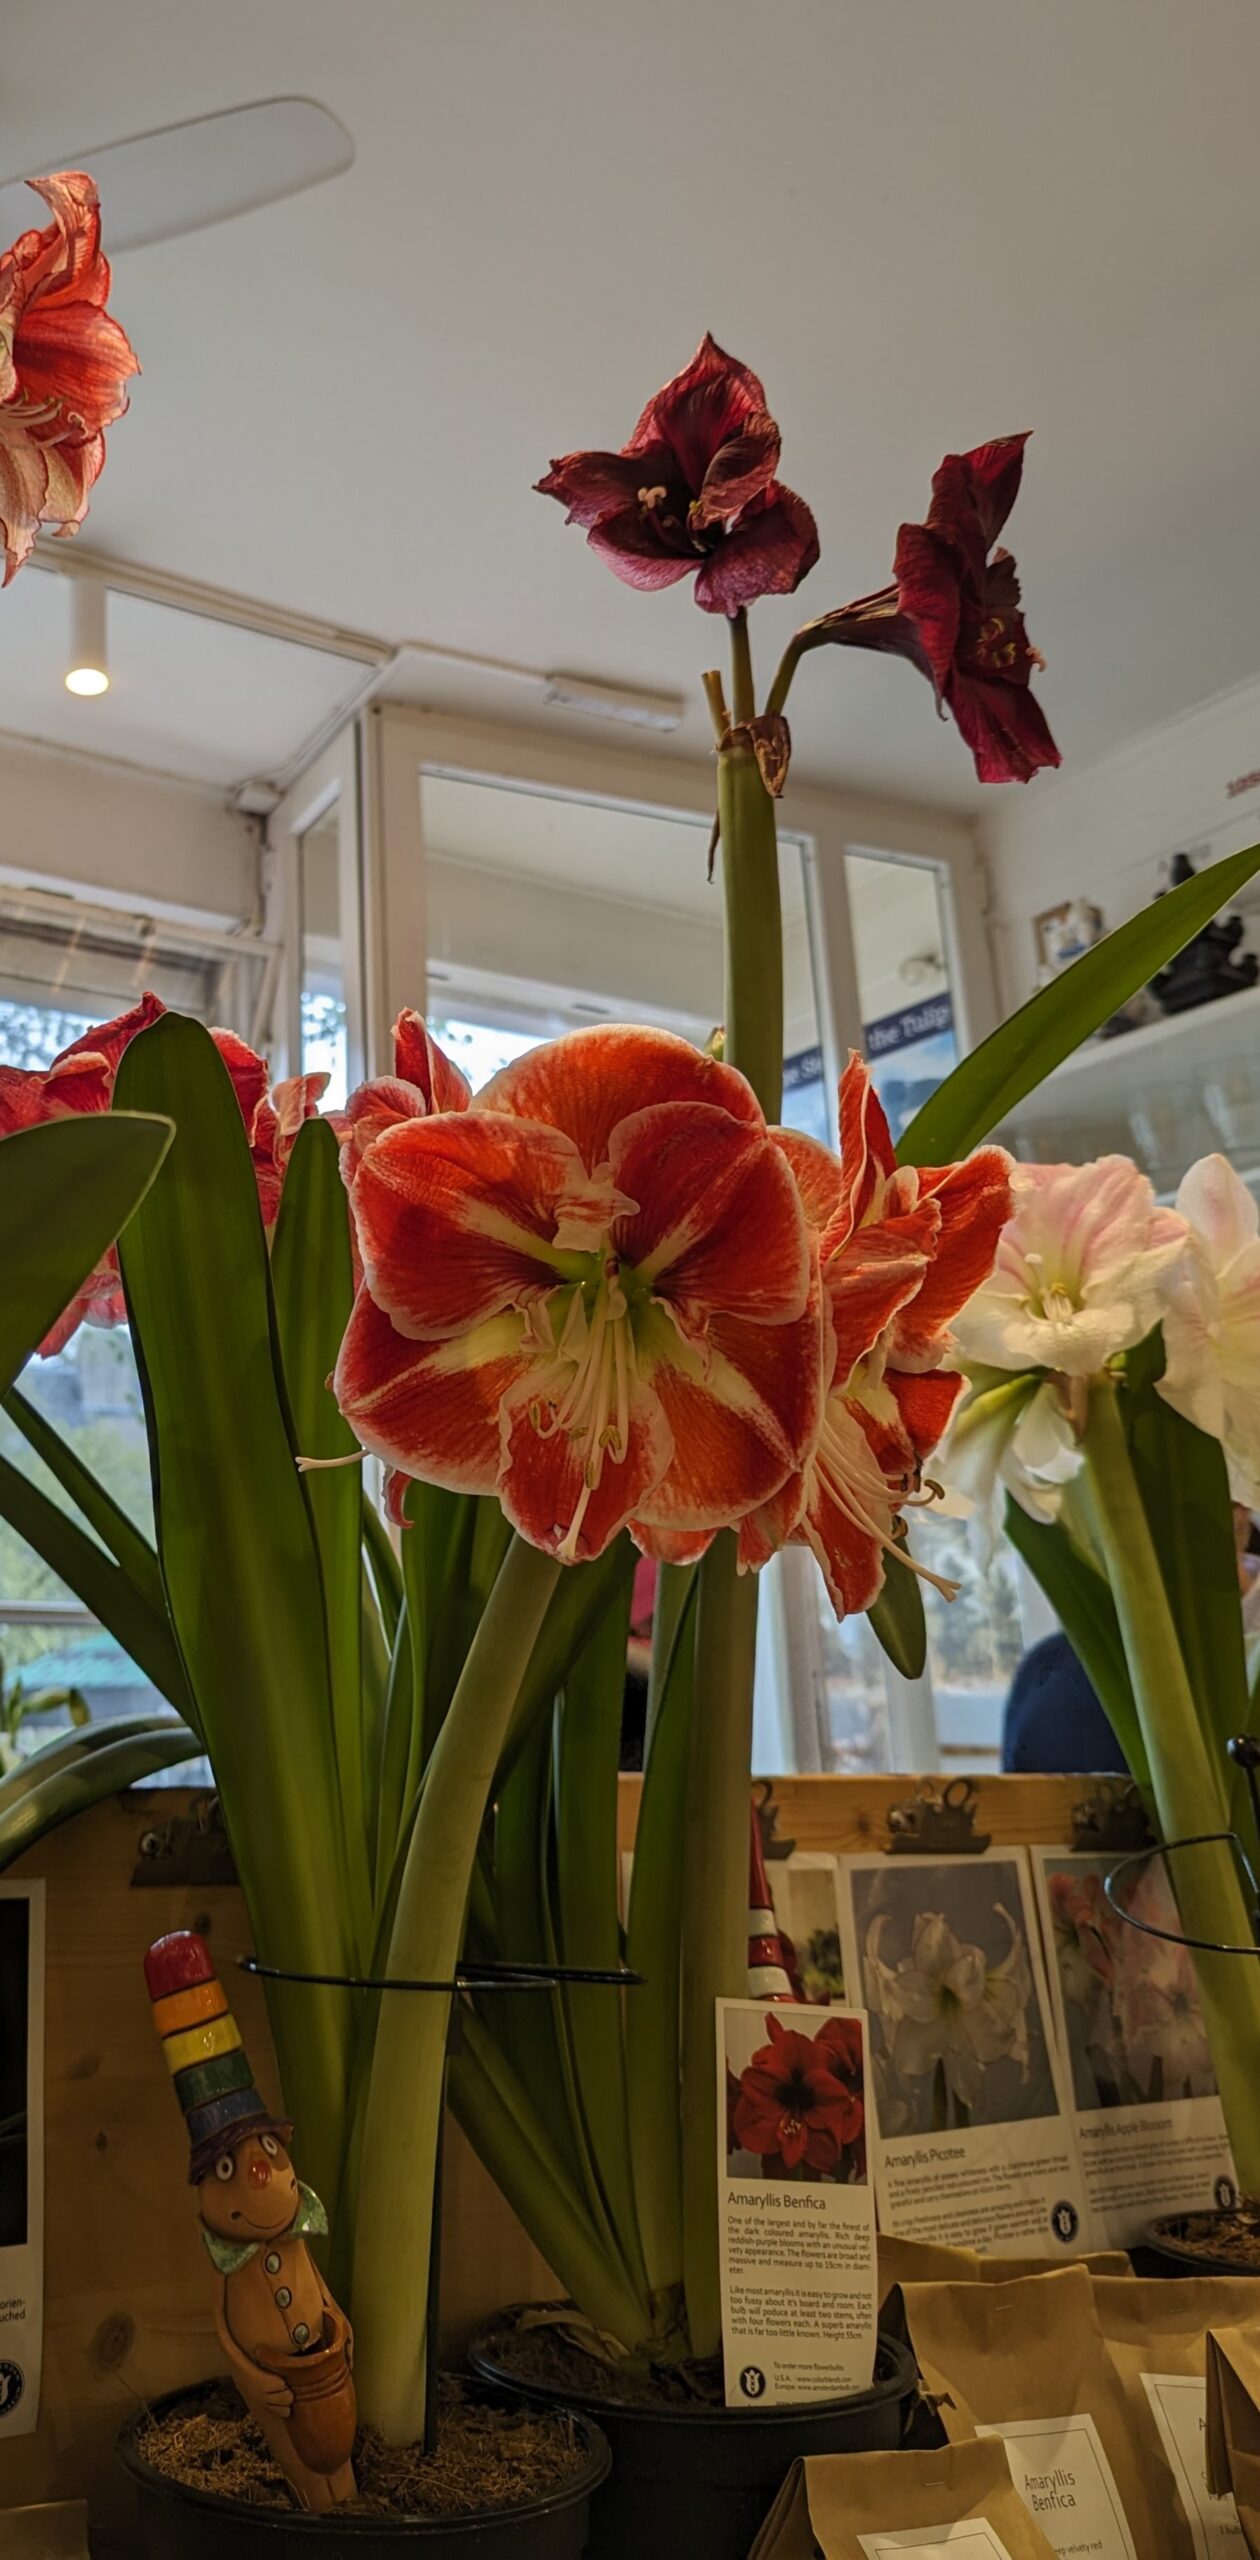
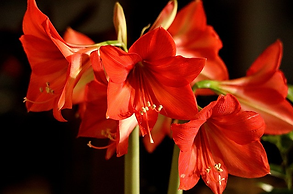
Nothing is more distinctive than the statuesque beauty of an amaryllis bloom. Its tall, slender, hollow stem leads to a gorgeous one-to-four inch blossom. The stem can grow between 18 and 36 inches tall depending on the variety. Because of its height and sturdiness, people in the Victorian age associated it with strength and sturdiness. It is commonly given as a gift for a hard earned achievement. Its Greek name means “to sparkle”. But is it difficult to care for? Learn how to care for an amaryllis including how to plant, grow and force it to rebloom. Also, if you have a furry pet, beware.
(Some of the links within this post are affiliate links on which I receive a small compensation from the sale of certain items with no extra cost to you.)
(As an Amazon Associate I earn from qualifying purchases.)
Planting Amaryllis Bulbs
The Amaryllis plant is one of the easiest plants to grow and maintain. The bulb contains the stored energy the plant needs to produce blossoms.
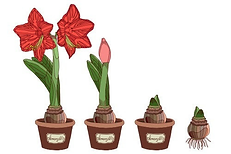
Size:
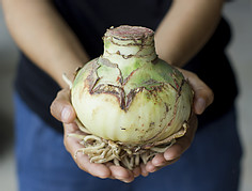
The size of the bulb usually determines how many stems and flowers it will eventually produce. The larger the bulb’s circumference (distance around the widest part of the bulb), the sturdier the stem, the more stems, and the more flowers. A large bulb could produce multiple stems with 4 to 5 blossoms per stem. In addition, the stems will push through every week or two so you will have a longer blooming period.
Smaller bulbs usually produce just one stem with 2 to 3 flowers on each stem. However, if paired with white paperwhites and a pot or two of cyclamen, it will make a beautiful centerpiece.
The bulbs can range in size from 26 to 28 centimeters producing one stem, to 34 to 36 centimeters producing multiple stems. Be sure to choose a firm bulb and one without any signs of mold, decay, or injury.
To learn general information on bulbs, click Flower Bulbs for Spring Beauty.
Pots:
Choose a heavier pot in order to support the height and weight of the plant. It is a bit top heavy so you may have to use stakes to anchor the blossom.
The pot should only be about an inch to an inch and a half wider than the diameter of the bulb.
It is imperative that the pot have a drainage hole in order to prevent root and bulb rot from developing.
Soil:
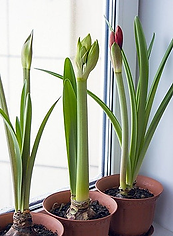
Use a soilless medium (Amazon: Noot Indoor Soilless Potting Mix) when you plant the bulb. A soilless medium consists of equal parts hvermiculite and peat moss. Insert the bulb into the medium, tip side up. Gently pat the mix around the bulb leaving 1/3 of the bulb above the mix level. Most bulbs will bloom 6 to 8 weeks after planting, but some may take up to 10 weeks depending on the variety of the plant.
Growing Amaryllis Plants
Light:
Place the newly planted bulb in bright, indirect sunlight. Avoid drafts.
Water:
Water the plant sparingly until you see 2 inches of growth, then begin to water regularly. To decide when your plant needs watering, stick your finger into the mix. The top one half inch should be dry before watering again. Turn the pot as it grows in order for it to develop a straight stem. It will lean and grow toward the light if not turned periodically.
Blossoms:
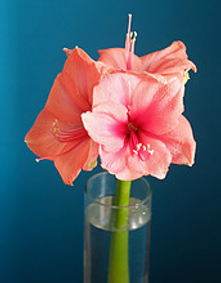
The blossoms will last for about a week but with each new stem, you will have new flowers. The amaryllis will be on display for a few weeks.
The stems with blossoms last longer if cut and placed in water. They can last up to 2 weeks in a vase. Cut the stems with a sharp knife on an angle and replace the water every 2 to 3 days to prolong its beauty.
Fertilize:
There is no need to fertilize an amaryllis bulb while it is growing through these stages. The bulb is like an energizer bunny. It contains all the nutrients it needs to produce a lovely blossom.

How to Rebloom an Amaryllis Plant
Amaryllis plants are easy to save and force to bloom for many years. Follow the directions below to have beautiful blossoms from year to year.
1. Allow your plant to finish blossoming. Wait a couple of weeks after the last stem has bloomed to guarantee there are no new stems pushing through the bulb.
2. Cut the stem of the flower to one inch from the top of the bulb.
3. Move your pot with the bulb and leaves intact to a sunny location.
4. Fertilize the remaining leaves with a liquid indoor houseplant solution throughout the growing season.
5. After the last threat of frost, move your pot outside where it will receive direct sunlight. The sunlight provides the leaves with energy to produce blossoms for the following season. You can opt to leave it inside if it is placed in a window with direct sunlight.
6. In late August or early September you can either cut the leaves off the bulb or withhold water to allow the plant and medium to dry out naturally. Doing so prepares the plant for its dormancy period.
7. Remove the bulb from its pot and mix once the leaves are gone and place it in a cool, dark, area. The basement is ideal for this. Do not water the bulb during this period.
8. Take the bulb out of its dormancy state in late October. Repot the bulb using the directions stated above and place it in a warm, well-lit area.
9. Follow the directions above to enjoy beautiful blossoms the next season. It will take between 6 and 8 weeks for your amaryllis to produce more blossoms.

Our Furry Friends
According to the ASPCA, amaryllis plants are very toxic to both cats and dogs. They contain lycorine and other toxic chemicals that will cause “vomiting (not horses), depression, diarrhea, abdominal pain, hypersalivation, anorexia, and tremors.” (ASPCA)
The stem, leaves, and blossoms all contain noxious chemicals, however, the bulb is said to be the most toxic.
If exposed, take your pet immediately to the vet. He or she will probably give it medication to induce vomiting and/or activated charcoal which helps remove toxins from the digestive tract.
Your pet may become dehydrated and require intravenous fluids.
So beware when gifting an amaryllis plant to others and yourself if you or your friends have a dog or cat.

Pests of Amaryllis Plants
Amaryllis plants are usually pest free if grown in the home. However, it may acquire some type of plant infection if your plant is outside. Here is a list of common pests of amaryllis plants.
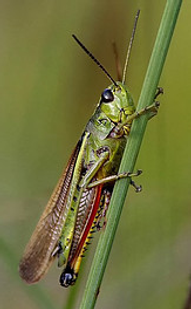
- Chewing insects such as caterpillars and grasshoppers: Remove them by hand and place them in soapy water.
- Phloem Feeders such as aphids, mealy bugs, and spider mites. They feed on the soft tissue of the plant. Remove them with a forceful spray of water.
- Bulb mites are tiny oval creatures related to spiders. They feed on the bulb and the damage may not be evident until it is too late. Be sure not to overwater your bulb or damage it with garden tools. Also, when selecting a bulb, be sure it is mold and fungus free.
- Nematodes are microscopic worms that feed on the roots of the amaryllis plant. You know you have a nematode infestation when you have been properly caring for the plant with the correct amount of water and nutrients yet the plant still looks sickly and yellow. Prevention is the key to not having this type of problem.
I recommend leaving the plant inside to eliminate the possibility of pest infestation. For more information on pests, click HERE.
How to Care for an Amaryllis
Through proper planting, growing, and reblooming of your amaryllis plant you will have many years of beauty in your home.
Be aware of the hazard to pets. We want to keep our furry family members as safe as possible.
Pests can infiltrate your lovely plant and damage it, so take proper care when selecting your bulbs and if the flower is transplanted outside.
I hope you enjoyed this post. Please share it with others and leave a comment below. I’d love to hear from you.
Happy Gardening and Happy Holidays!
Nina
bestgardeningforbeginners@gmail.com