
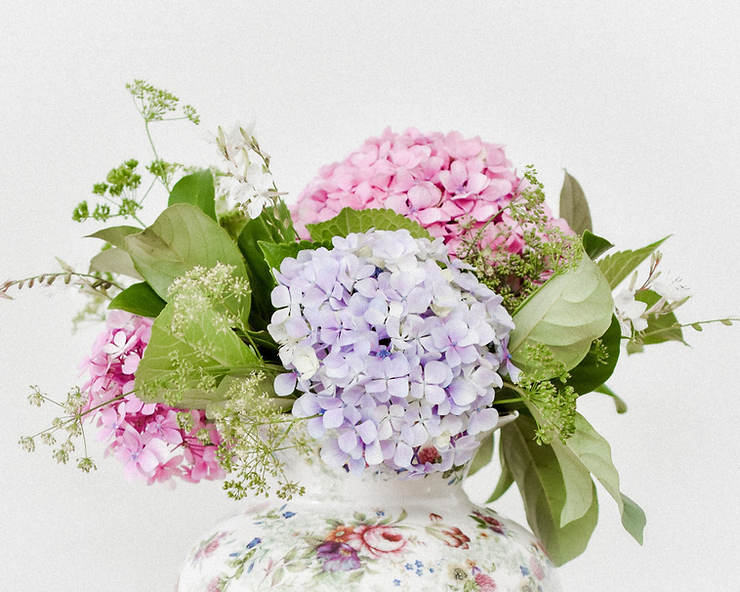
How to Care for Hydrangeas – The Basics
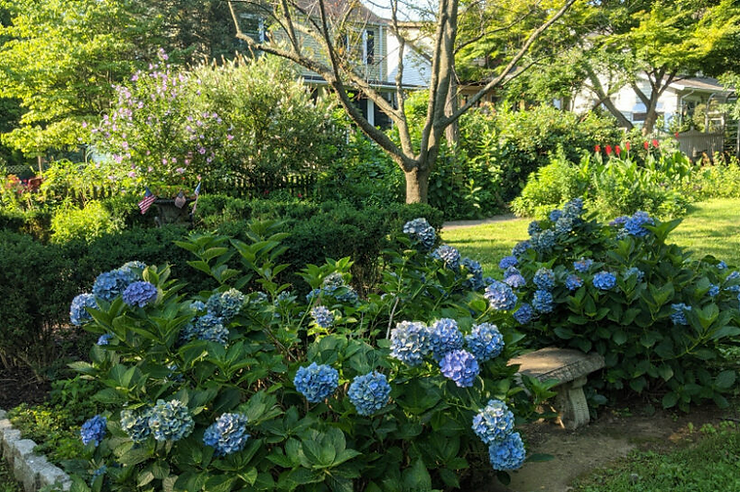
Hydrangeas are your typical old-fashioned garden flower. You see them in cottage gardens post, native gardens, low maintenance sustainable gardens, and shade gardens. They can be used as specimens, a hedge, or just a cluster in an area dappled with sunlight. Most varieties bloom throughout the summer and well into the fall. Their gorgeous blossoms add a distinct wow power to any cut bouquet and, when dried, you can adorn your windowboxes with their blossoms in the fall. Given proper care, these beauteous plants will last for years. Read on to learn the basics on how to care for hydrangeas.
(Some of the links within this post are affiliate links on which I receive a small compensation from the sale of certain items with no extra cost to you.)
(As an Amazon Associate I earn from qualifying purchases.)
Where to Plant Hydrangeas
Hydrangeas prefer partial sun. Plant them 3 to 10 feet apart, depending on the mature size of the variety you pick, and plant them where they will receive morning sun and afternoon shade.
Remember, like with any other plant consider its mature size. You do not want to cram multiple plants in a small area just to make the area look full. Eventually you will end up digging out and relocating them, making extra work for yourself. For more information on how to create a garden, click here.
What Soil Type
Generally speaking, hydrangeas will thrive in well drained, nutrient rich soil with plenty of moisture. Determine the quality of your soil with a simple soil test and then amend it if needed. Adding compost to the soil will give it a good start.
When to Plant Hydrangeas
Ideally most perennial flowers, shrubs, and trees, should be planted in early fall. Early spring is also a good option. Both times allow the roots to become established before either freezing temperatures set in, or the heat of the summer stresses your plants.

How to Plant a Hydrangea
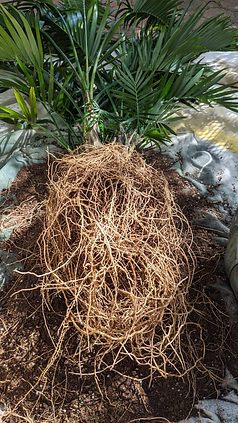
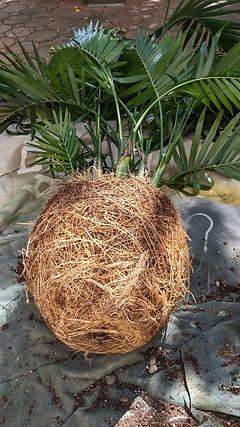
Dig a hole the same depth as the ball of the hydrangea but two times as wide. Remove the ball from the container and gently untangle the roots if they appear to be wrapped in a circle. Then place the hydrangea in the hole, cover it halfway with good, fertile soil, and water deeply. Allow the water to seep and drain into the soil. Fill the rest of the space with soil and generously water the hydrangea again to rid the soil of any air pockets.
Here are pictures of tangled and untangled root balls. Hopefully, your plant will not be as root bound as this palm was, so you will not need to remove all the soil.
Watering a Hydrangea
The first two years are critical for hydrangeas. Since they prefer a lot of water, give them a good soaking with a hose rather than a sprinkler once a week. Water at the base of the plant. If you are in a drought situation, water it more frequently. Hydrangeas tell you when they are thirsty because their leaves and stems begin to droop.
After two years, the roots of the plant should be well established and you will not have to care for it as much. It should be noted you will still need to water well established hydrangeas in drought situations. Add organic matter to the base to keep the soil moist and the roots cool.
Fertilizing a Hydrangea
If you planted the hydrangea in fertile soil, you will not need to fertilize your plant. Use a soil test to check the nutrients of the soil. On the other hand, if the soil is just fair, use the guide below to adjust the fertility of the soil.
Bigleaf Variety: lightly fertilize in March, May and June
Oakleaf and Panicle Variety: fertilize two times, once in April and again in June
Smooth Hydrangeas: fertilize one time during the winter

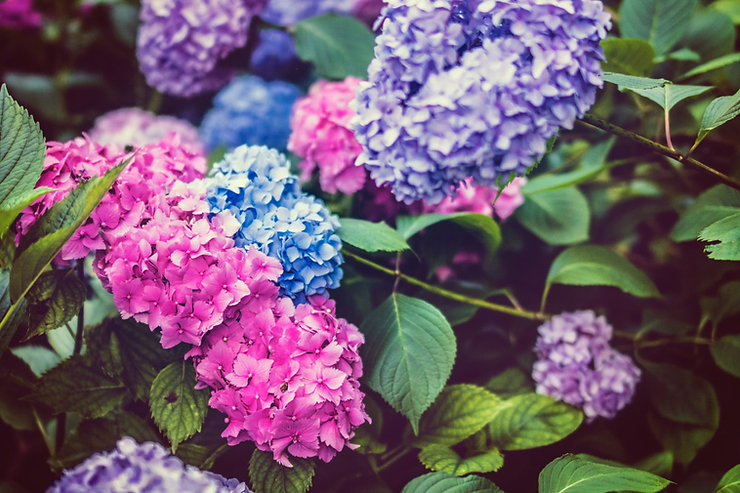
Changing the Color of Hydrangeas
Do not attempt to change the color of your hydrangea blooms during the first two years of growth. It is still stressed from the planting event.
Not all hydrangeas can change colors. If you purchased a white hydrangea, it will stay white. Mophead and lacecap varieties are easiest to change colors.
The color of the blossoms is dependent upon the pH levels in the soil. If the soil has a high pH value (above 7) the soil is more alkaline and will produce red or pink blooms. A pH value below 6 indicates a more acidic soil and will produce blue or bluish blooms. pH values between 6 and 7 will churn out pinkish blue or purple blossoms.
Steps to Change Colors of Blossoms
Aluminum ions control the colors of the hydrangea blossoms. Below are a few steps to take to change the color of your hydrangea as suggested by Bob Vila.
1. Determine the pH value of your soil a few times during growing season. Use a simple Kensizer soil tester from Amazon.
2. Wait until spring or fall to attempt to change the color. The color change does not happen overnight. It may take a few months to produce different colored blossoms.
3. To create blue blooms, lower the soil’s pH to a more acidic state by adding sulphur or aluminum sulfate which can be purchased at nurseries. For a more natural way to make your soil more acidic add coffee grounds, grass clippings, leaves, or fruit and vegetable scraps to the ground at the surface level.
To acquire pink or reddish blooms, add ground lime to the soil. This will raise the soil’s pH level. Be sure to water it in well and do not use too much or the leaves will turn yellow.
4. Be vigilant and treat your soil every two to four weeks. The pH levels constantly change from rain and run-off, so you need to keep at it to really change the soil. Even after it has changed to the desired color, there is no guarantee it will stay that color.
5. Fertilize the hydrangeas with a 25-10-10 fertilizer in the spring or fall to help change the color to pink. This type of fertilizer slows the absorption of aluminum ions which turn the blossoms blue. A natural way to prevent your hydrangeas from turning blue is by placing crushed seashells under the plant. The chemical in the shells also slows the absorption of aluminum ions by the plant.
6. To change the blossoms to blue, fertilize with 25-5-30. Contrastly, this fertilizer allows the plant to absorb the aluminum from the soil which makes it turn blue.

Pruning Hydrangeas
First, let me say that hydrangeas do not need to be pruned in order to blossom and thrive.
With that said, here are a few facts about hydrangeas you need to know if you do decide to trim them.
1. Hydrangeas consist of new and old growth. Most varieties form buds on the old growth (the sticks that look dead) of the plant. The new growth that pops up from the ground is a good filler for the plant. Some varieties also produce blooms on the new growth.
2. Pruning hydrangeas can be done in either the spring or fall depending again on the variety. Refer to the chart below to decide when to prune your hydrangeas.
3. If you are pruning in the spring, cut after cold-snaps are finished and new buds are beginning to form. You do not want to prune them too soon when temperatures may freeze again. The cut area is vulnerable to cold temperatures. Freezing temperatures will penetrate the plant and will likely kill it.
4. You want to prune with clean, sharp clippers about one inch above a bud that has formed on the woody stem. Trim off any dead stems.
The following chart gives basic instructions on when to prune hydrangeas. The chart was taken from The Almanac.
Hydrangea Type When to Prune Where It Flowers
Mophead and Bigleaf After flowering/ Summer Old growth
Oakleaf After flowering/ Summer Old growth
Panicle Late winter/early spring New growth
Smooth Late winter/ early spring New growth
Mountain After flowering Old growth
Climbing After flowering Old growth
How to Care for Hydrangeas – The Basics
If you follow the above guidelines by planting in good, moist, well-draining soil, planting in partial shade, watering frequently, and pruning if necessary, you will be happily surprised each year when your hydrangeas blossom into gorgeous color. Do not be too hasty to prune them as you may cut off buds that would bloom in the following year!
For more information on varieties of hydrangeas, click here.
I hope you have enjoyed this post. Please share it with family and friends and leave a comment below.
Happy Gardening,
Nina